There are many things to consider when deciding what type of kitchen cabinet hardware you want in your home. Firstly, you have to know what your overall design theme is. Are you looking to introduce traditional, modern, rustic, industrial or farmhouse style into your kitchen space? You can also combine styles for an eclectic design all your own. Knowing your design theme will help inform your decision in choosing the right hardware. It will also help you decide what type of finish to choose as well, because different finishes pair more favorably with certain design styles. For example, a polished chrome finish pairs well with both modern and traditional styles, while darker bronze colors lend themselves to a farmhouse or rustic theme. When choosing your kitchen cabinet hardware, begin with the end in mind to bring your vision to life.
Knobs vs Handles
Choosing the right kitchen cabinet hardware is an integral part of making your kitchen your own. There are so many options that it can sometimes be confusing knowing where to start.
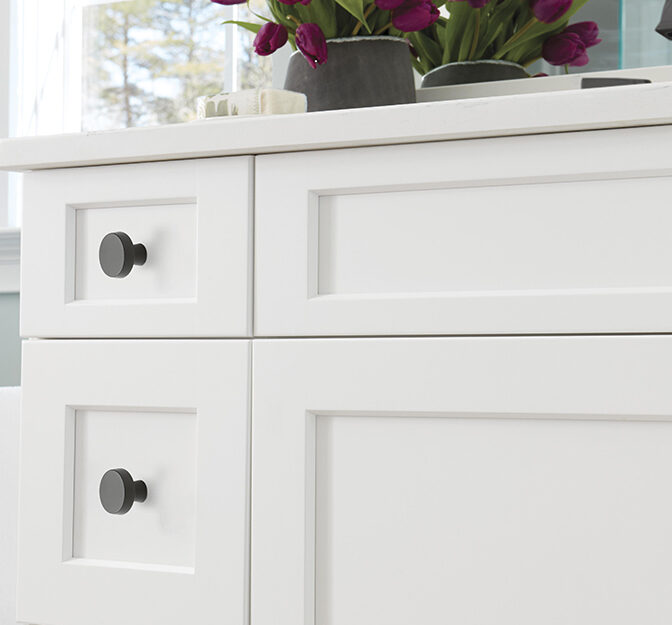
Knobs are also a common kitchen cabinet hardware choice. A traditional cabinet knob is usually round, smaller in size and has a singular mounting point. Knobs come in a variety of styles and can be made of glass, ceramics and various metals. Metal finishes from stainless steel to aged brass are available. Knobs can also make a departure from their traditional sphere shape with hive or hexagon varieties or flattened disk styles like the Dish Knob. When considering the impact you want to make with your kitchen decor, a knob is a great choice no matter what style or finish you choose.
If you have a wide drawer, place two knobs to the left and right of the center. Make sure an equal length remains on each side of the knob to the end of the drawer. If the drawer is narrow, place one knob directly in the center.
Here are common types of knobs:
- Mushroom knobs have a mushroom-type design that resembles a standard door knob.
- Round knobs look like a ball or globe.
- Square knobs have four corners in varying sizes.
- Bar knobs are usually a narrow bar in the shape of a “T.”
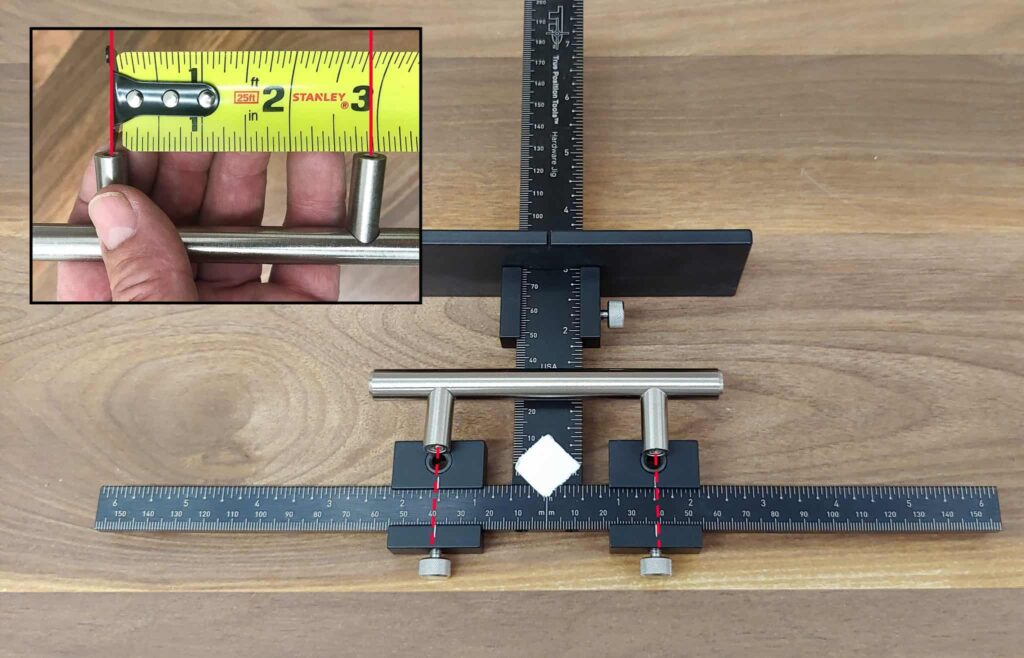
Handles, also called pulls, are shaped like a rod or bar and mounted on kitchen cabinetry at two points. They are usually slender in appearance. Pulls allow users to comfortably wrap their fingers around the hardware, for easily opening and closing cabinets. Pulls make it possible to open a cabinet with one hand or even a finger, if necessary. Pulls are available in standard and extra wide lengths. They also come in various shapes and styles from the traditional Talbot Pull to more modern versions like the Edgecliff. Although the handles can be used for a variety of decor, they lend themselves to more modern and traditionally themed kitchens. Handles can elevate your space with finishes varying from matte black to satin copper.
Here are some of the most common types of cabinet pulls:
- Bar pulls are a straight bar with two screw brackets near the ends.
- Cup pulls have a 180-degree design that accommodates your fingers.
- Arch pulls feature a curved arch with enough room for your hand.
- Handle pulls and cabinet handles have two screw brackets at the end of each side.
Whether you choose a knob or a handle for your kitchen space, make sure your choice embodies the overall theme of your kitchen design.
Backplates
Backplates are both functional and stylish. A flat metal piece, backplates are installed between the cabinet and the hardware. They protect your cabinets from dirt and grime.
Available in a variety of finishes like oil-rubbed brass or polished chrome, backplates can make a design statement. Combine them with a contrasting knob or pull for a unique look. They are also good for covering up old drilled holes.
Varieties of Knobs & Pulls
The type of knob or pull you choose for your cabinetry will directly impact its look and usability. Here are a few for your consideration:
- Talbot Pull: Adds a modern touch with a singular band with your choice of finish.
- Hive Knob: Borrowing from the beehive’s natural shape, this knob features ridges that add depth and dimension.
- Dish Knob: Features a circular disk that is both functional and stylish.
- Ruth Knob: A classic sphere shape that satisfies both traditional and modern taste.
- Card File Pull: Reminiscent of the pulls used in libraries for the card catalog.
- Hex Knob: A hexagon-shaped knob that channels both industrial and modern design.
- Appliance Pull: A longer, heavier gauge pull primarily meant to be mounted to and used for paneled appliances such as refrigerators, dishwashers and microwave cabinetry.
Appliance Pulls
Appliance pulls are a specific type of cabinet handle. Usually used with panel-front kitchen appliances, these pulls are typically longer than ordinary cabinet pulls and constructed from a heavier gauge. They come in sizes from 12 inches to around 18 inches long. These pulls are primarily meant to be mounted to and used for paneled appliances such as refrigerators, dishwashers and microwave cabinetry. Because appliances usually require more force to open than drawers and cabinets, appliance handles come with thicker mounting screws. This provides a more effective hold for the appliance handle over time.
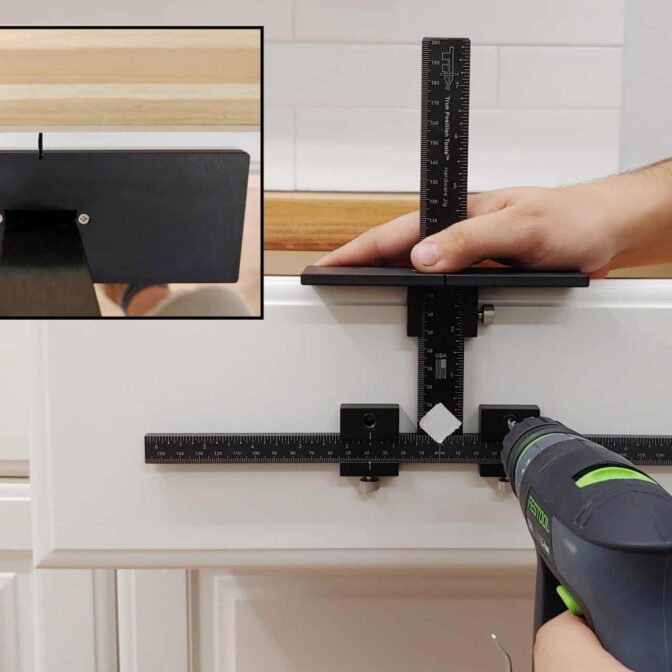
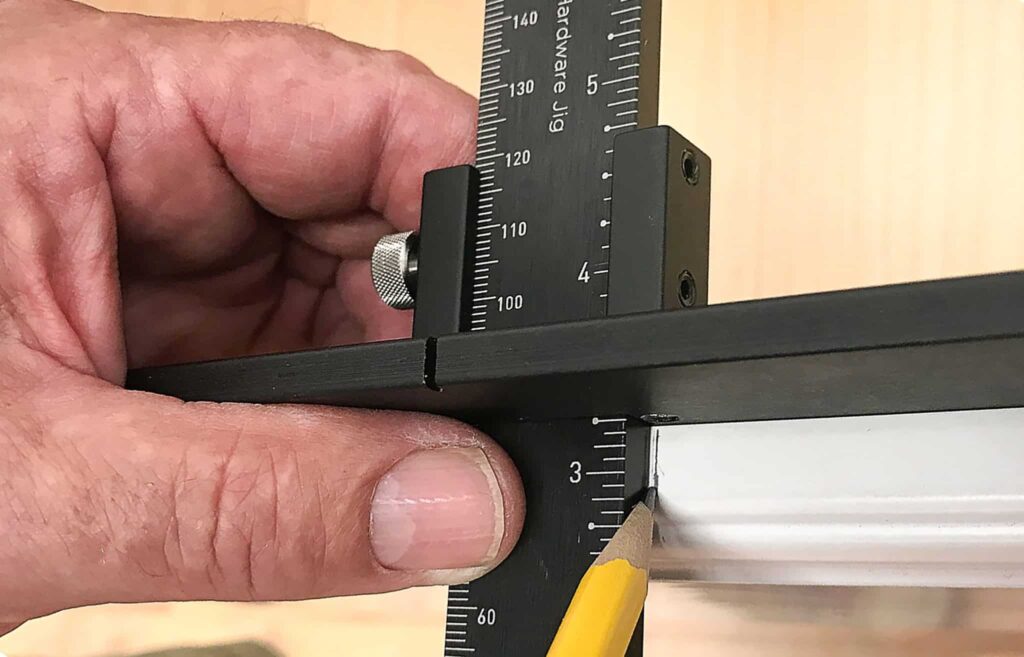
Cabinet hardware can be an easy kitchen update you can do yourself. Switch out both the knobs and pulls for a fresh new look. Choose the same finish or use knobs on cabinet doors, and pulls on drawers. These kitchen cabinet hardware ideas are simple to install and will add instant style. Ready to choose your new cabinet hardware?


