2.Measure and Mark Locations for New Handles
If you can reuse the existing screw holes, insert the new fastening screw into the hole and tighten the new handle into place. If you are creating new screw holes, measure and mark the new screw hole locations.
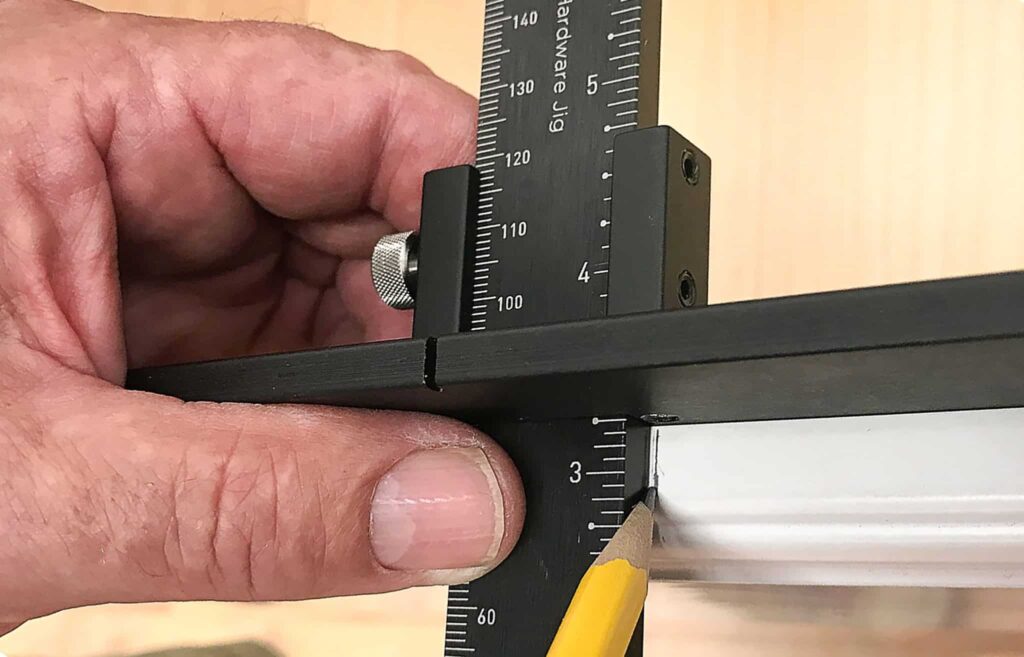
If your cabinet doors have stiles (also called framing), cabinet pulls are usually 2 to 3 inches up from the bottom edge of the door. They should be centered on the width of the stile.
If your cabinets have slab doors without stiles, cabinet pulls are usually 2 to 3 inches up from the bottom edge of the door. They will be the same distance in from the side edge.
Measure and mark this location with a pencil.
When installing a knob, this marked location will be where you drill your screw hole.
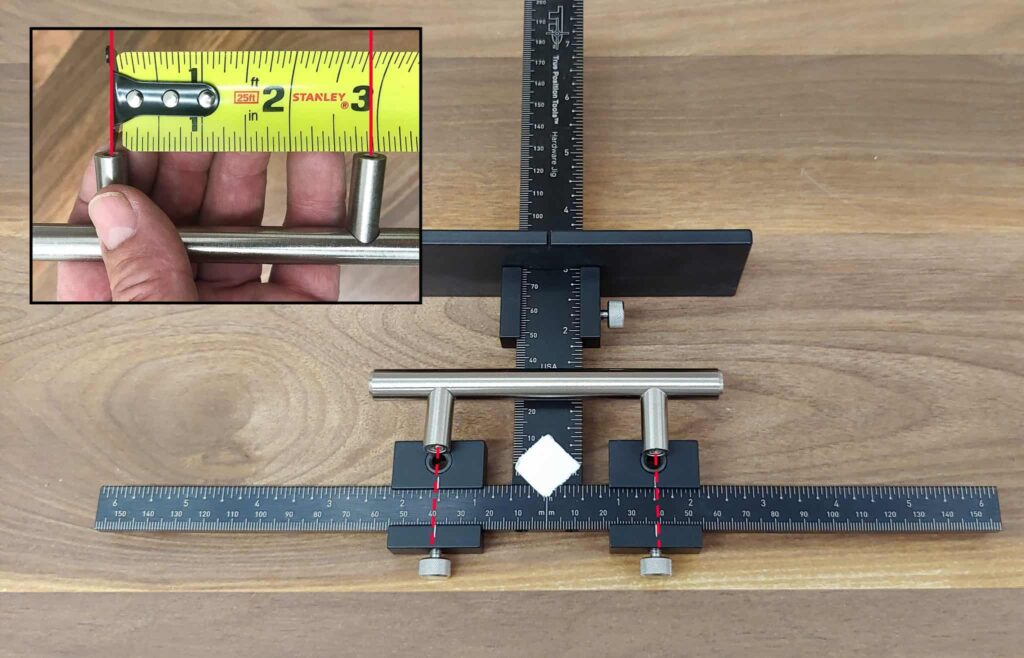
When installing a handle with two fastening screws, this marked location will be the middle of the handle. Measure the distance between the two fastening screws on the cabinet handle.
Divide that number in half to get the distance between your center mark and two new marks that indicate the top and bottom screw hole locations.
Tip: To avoid having to measure every cabinet door, make a template using a piece of cardboard. Assume the corner of the piece of cardboard is the corner of the cabinet door. Mark the screw hole locations accordingly. Line up the template with the cabinet door and poke a nail through to start the screw holes on the door.
3.Drill Holes
Most cabinet screws need a 3/16-inch diameter hole, so use a power drill with a 3/16-inch twist bit to create the screw holes. The cabinet pull manufacturer’s instructions will specify the required drill bit size as well. If you’re unsure of the size, drill a test hole into a piece of scrap wood to see if the fastening screws will fit.
Hold the door open with one hand as you drill or prop it open with a towel to avoid drilling into the cabinet frame.
Drill through the door at the marked screw hole locations.
4.Install New Cabinet Handles
Your holes are now drilled. It’s time to start installing cabinet hardware. This process is the same if you’re learning how to install cabinet knobs as well. Here’s how to install cabinet hardware correctly:
Insert the fastening screw(s) through the backside of the hole.
Thread the knob or handle onto the screw(s).
While holding the knob or handle with one hand, use a screwdriver to tighten the fastening screw.
Avoid over-tightening the screw, as this can crack or damage your cabinet door.
Tip: Cabinet and drawer pulls usually come with two screws of different lengths. The shorter screw is made for cabinet doors with a standard thickness. The longer screw is made for thicker cabinet doors or false-front drawers.
Installing cabinet hardware and updating the drawers isn’t a difficult process. Transforming your spaces with new pulls and knobs is also quite rewarding. Best of all, you don’t need to be a DIY professional to upgrade your hardware today. Now that you know how to install cabinet handles, you can easily change the style of your cabinets.


